🎯Auto Sniping
Auto Sniping automatically purchases a newly launched token the moment liquidity is added to its trading pair.
How to Set up an Auto Snipe
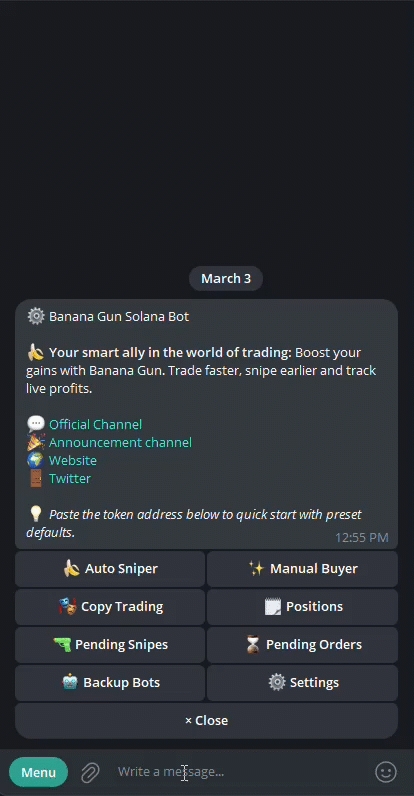
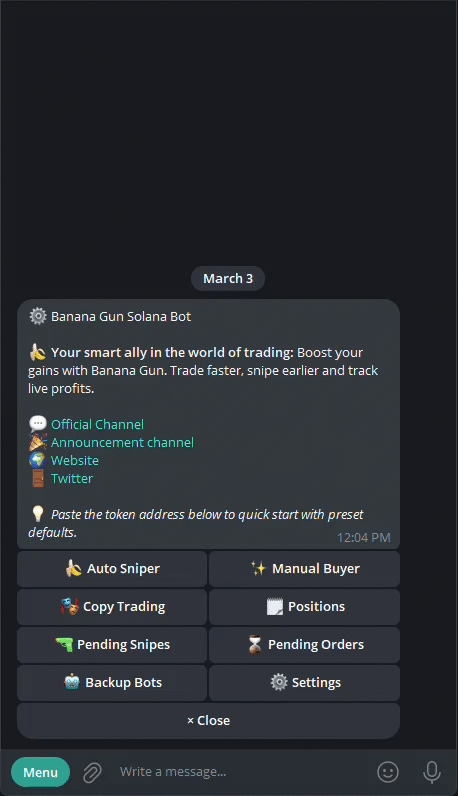
Select the Auto Sniper button in start menu or paste a token contract address that isn't live yet. This will open the auto snipe menu.
Enter the recommended or higher MEV Tip to maximize your chances of inclusion in the first block.
Set the snipe duration for how long the bot should wait for liquidity to be added.
Enable Auto Snipe and wait for "Auto snipe is running" message.
You can disable your pending snipe by selecting "Enable Auto Snipe" again.

Auto Sniping Menu

Wallet Change: Choose wallet(s) for trades. You can use multiple wallets at once. If none are selected, your default wallet will be used.
Auto Snipe Gas: Set the gas fee used for the snipe.
Enable Auto Snipe: Turn on/off snipe.
Auto Spend: Set the SOL amount to spend for the snipe.
Anti-MEV: Turns MEV (sandwich attack) or Anti-MEV + Public protection on or off.
Mev Tip: Set a tip to prioritize your transaction when Anti-MEV is enabled.
Bundle Fees: When enabled, transactions include a separate priority fee and tip. When disabled, the tip value is used as the priority fee if sent through staked nodes.
Slippage: Set the maximum price change (0–99%) you'll accept. 100% means unlimited slippage.
Active: The duration the snipe remains active.
Min Liquidity: The minimum amount of pooled SOL required to trigger the snipe.
Max Liquidity: The maximum amount of pooled SOL required to trigger the snipe.
Min Token Liquidity: The minimum amount of pooled tokens required to trigger the snipe.
Max Token Liquidity: The maximum amount of pooled tokens required to trigger the snipe.
MinToken: The minimum number of tokens you receive. You can set a custom amount or leave it on auto.
Click to Refresh: Updates the token information (price, market cap).

Click the "Pending Snipes" button in the start menu.
In the "Pending Snipes" menu, select "Edit."
Choose the setting you want to change.
Enter a new value in the text box or toggle a button.
Your preset will update, and the new value will appear (e.g., "Slippage" set to 10%).
Last updated